My Challah Recipe
Some recipes are seasonal, some are special-occasion, and then there’s challah—always relevant, and always gone within five-ish minutes of hitting the table. Below, you’ll find the new-ish version I’ve been baking most often over the past two years. After having kids, I started relying more on my stand mixer, adjusting a few steps to better suit my schedule (and countertop real estate). Over time, those tweaks became second nature—and eventually, they became the recipe. If you’ve made my original challah, this will feel nearly identical: It’s still pillowy-soft, just a touch sweet, and perfect for braiding.
But! If you’re feeling attached to the original, don’t worry—you can still find it here!
We go through a lot of challah around here—but I’m not baking it from scratch every Friday, and you don’t need to, either. Once a month or so, I knead a big batch on a Thursday night after baths and bedtimes, allowing it to proof in the fridge overnight before baking it Friday morning; we reheat two loaves briefly in the oven in the late afternoon, and freeze the rest. So, most weeks, I just rely on that freezer stash. Baking challah doesn’t have to be a regular commitment to be meaningful, and even the supermarket loaves I ate with my parents and siblings growing up became imbued with an almost preternatural nostalgia that I carry with me to this day.
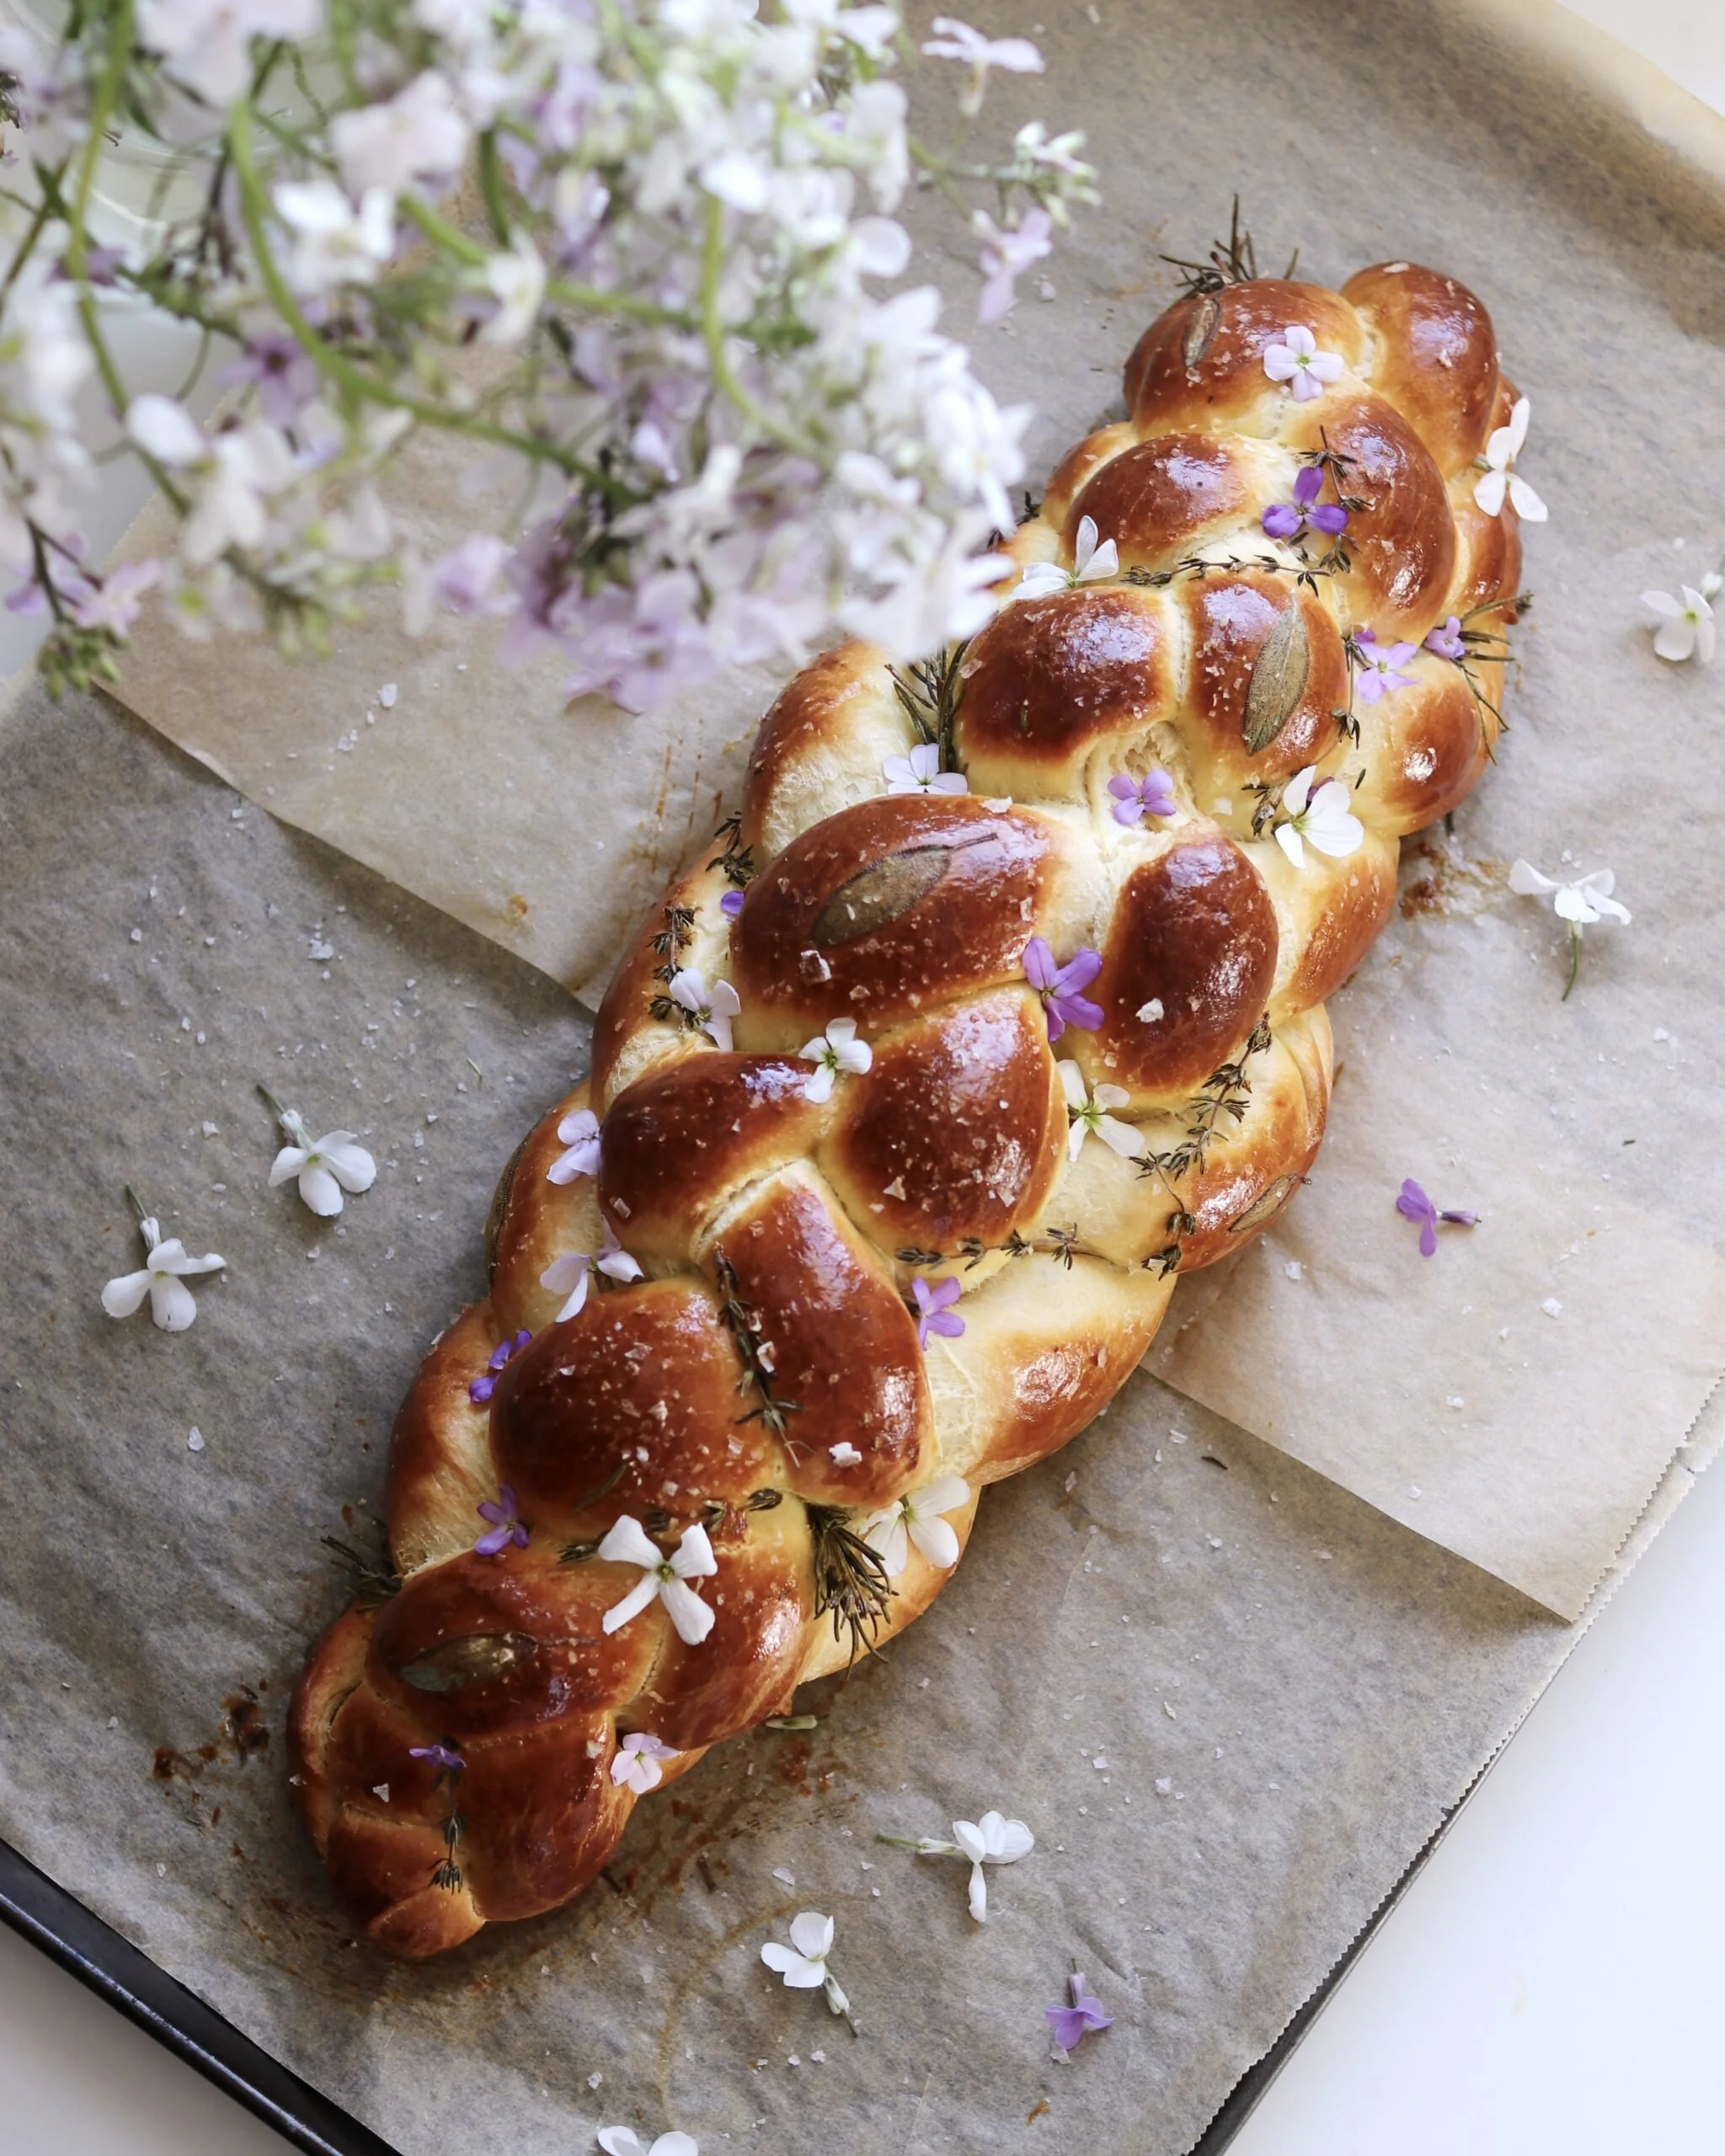
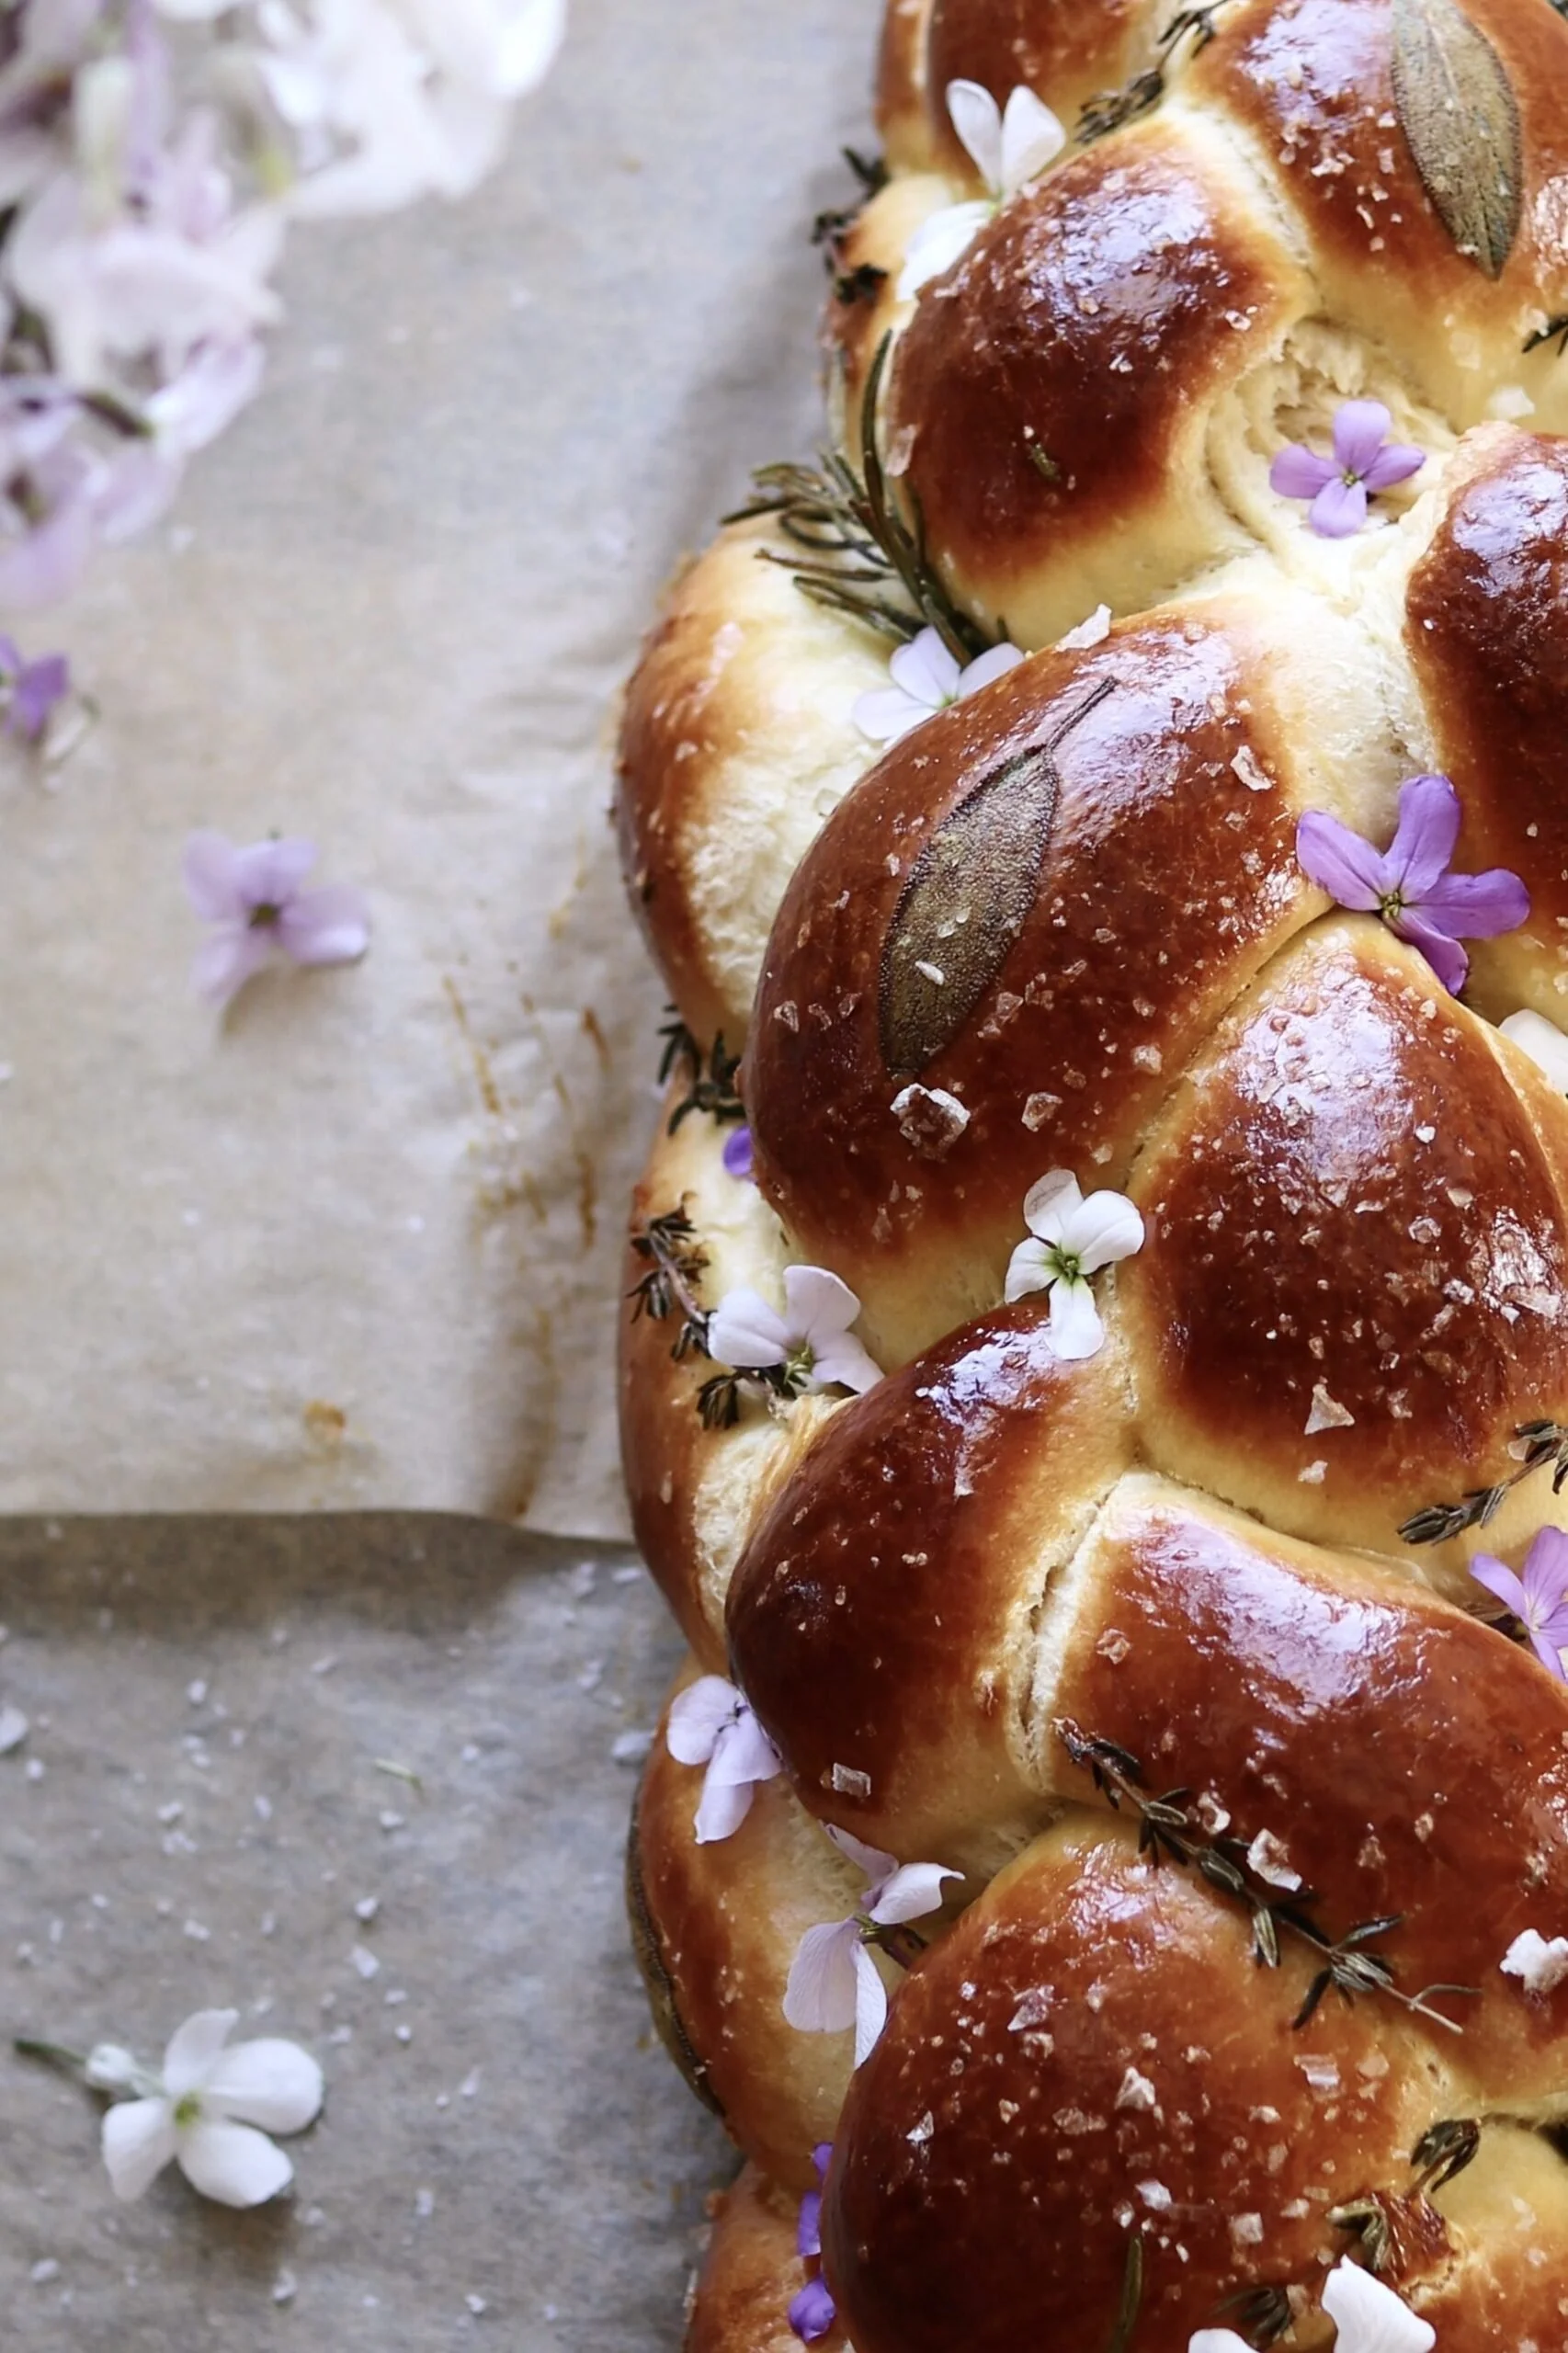
(Also, those little herbs and flowers aren't included in the tutorial—but they're easy enough to add! Just poke/layer on some fresh herbs after the egg wash step, prior to baking. If you want to use edible flowers, they'll need to be added post-baking, just before serving.)
Of course, while challah's easy to make, it is time-intensive—though most of that time is spent waiting around for the dough to rise—so I'd recommend reading through the entire recipe so that you can plan your morning or afternoon accordingly. You'll also want to prep your ingredients ahead of time so that everything's at room temperature, and to ensure that you have said ingredients. Since time is a crucial component of bread-baking, you don't want to be running out at the last minute to grab this or that ingredient.
Finally, there are so many wonderful little tips and tricks I've learned over the years that make a huge difference in the look and taste of the resulting loaves. For that reason, I've done my best to make the below tutorial really thorough. Again, you can make sure you've got a grasp on all of these little details simply by giving the recipe a thorough read before you begin.
Rebekah’s Challah
Makes 2 medium loaves or 1 large loaf
About 1 active hour of kneading and braiding, plus at least 3 hours to rise
2¼ teaspoons (0.25-ounce / 7g) active dry yeast
1 tablespoon (12g) granulated sugar
¾ cup plus 2 tablespoons (210mL) warm water (110°F)
4¾ cups (617g) all-purpose flour, divided
¼ cup (60mL) honey
1 tablespoon plus ¼ teaspoon (10g) Diamond Crystal kosher salt
3 large eggs, plus 1 egg yolk, at room temperature, divided
½ cup (120mL) neutral oil (such as safflower, avocado, or canola), plus more for kneading and for the bowl
Sesame seeds, poppy seeds, or flaky sea salt, for topping (optional)
In the bowl of a stand mixer (used simply as a mixing bowl at this stage), dissolve the yeast and sugar in the warm water, stirring until fully combined. Add 1 cup (130g) of the flour and stir well until everything is fully incorporated. Cover with plastic wrap or a clean dish towel and let rest at room temperature for 1 hour.
Add the honey, salt, 2 eggs, egg yolk, and oil and stir vigorously until the mixture is smooth and fully combined. Attach the bowl to the stand mixer and fit it with the dough hook. Add the remaining 3¾ cups (487g) flour and mix on low speed until a shaggy dough forms, just about 2 minutes.
Transfer the dough to a lightly oiled (not floured) work surface and knead until smooth and soft, about 4 minutes. It should be tacky but not sticky. Brush a clean bowl lightly with more oil and place the dough in the bowl, using your hands to lightly coat the top with oil as well. Cover with plastic wrap or a clean dish towel and let it rise in a warm area for 1½ to 2 hours, or until doubled in size. (Alternatively, refrigerate the dough overnight; it may not visibly double, but the flavor and texture will develop. Shape it straight from the fridge, or let it rest 15 minutes if the dough feels too stiff.)
Turn the dough out of the bowl onto a clean, un-floured work surface. Using a bench scraper or sharp knife, divide it into 8 equal portions for two medium loaves, or 4 portions for one large loaf. If you’re making two medium loaves, set half the portions aside and keep them covered with a towel while you work.
Working with one piece at a time, use a rolling pin to flatten into an approximate 5-by-8-inch rectangle (8-by-12-inch rectangle for a large loaf). Starting at one long end, roll it up into a tight log. Roll and gently stretch each log between your palms to shape into even 10- to 12-inch strands. (If making one large loaf, stretch the strands into even 20- to 24-inch strands.) Repeat with the reserved dough portions.
For a simple four-stranded braid: Arrange four strands of dough lengthwise on your work surface. Pinch together the ends at the top and space each of the strands about 2 inches apart. Then, mentally number each strand, with the leftmost strand acting as “1” and the rightmost acting as “4.” Note that these numbers are fluid; i.e., whatever strand of dough finds itself in “Spot 1” is now “Strand 1,” even if it was previously stationed in, say, Spot 4. To begin braiding, first bring Strand 4 over Strand 2. Then, take Strand 1 and bring it over your new Strand 3. Finally, bring Strand 2 over Strand 3. Continue braiding with this three-part pattern: 4 over 2, 1 over 3, 2 over 3.
When you reach the end of the braid, tuck the loose strands underneath the loaf and carefully transfer to one side of a large, parchment paper–lined baking sheet. Braid the remaining strands to make another loaf, then transfer to the same baking sheet. Cover both loaves loosely and let rest in a warm area for 45 minutes to 1 hour, until soft and very puffy.
Preheat the oven to 350°F. In a small bowl, whisk together the remaining egg with 1 tablespoon water. Brush each loaf generously with the egg wash, then sprinkle with sesame seeds, poppy seeds, or flaky sea salt, if desired.
Bake until the outside is deeply browned and feels hollow when tapped (it should register an internal temperature of 190°F on an instant-read thermometer), 30 to 35 minutes for medium loaves and 35 to 40 minutes for a large loaf. If the bread is browning too quickly (unlikely, but it can happen), remove it from the oven, loosely tent the top with foil, and continue baking until done. Let the loaves cool for at least 30 minutes, then serve.
Once fully cooled, the challah can be wrapped well in plastic wrap and stored in an airtight container at room temperature for up to 2 days. For longer storage, wrap cooled loaves tightly in plastic wrap, followed by aluminum foil and a labeled, freezer-safe bag with the air squeezed out; freeze for up to 2 months. To serve, thaw at room temperature (still wrapped) for at least 4 to 6 hours, then remove the bag, foil, and plastic wrap, transfer to a baking sheet, and refresh in a 350°F oven for 10 to 12 minutes. Avoid refrigerating the challah at any point; it’ll dry out.