DIY Recycled Marble Menorah With Sewing Thimbles
Inspired by the beautiful marble menorahs I kept seeing everywhere, I decided to try making my own. It’s an imperfect project in the best way—experimental and a bit scrappy—but surprisingly lovely once it’s done. All in, the materials cost under $15. If you like thoughtful, hands-on projects, here’s how to make it.
DIY Marble Menorah
2 pieces of scrap marble with long sides measuring at least 7 inches
10 silver or gold thimbles (¾-inch diameter at the base)
Clear Gorilla Super Glue Gel
Beeswax Hanukkah candles (plus a few extras)
Matches
Cover your work surface with newspaper or scrap paper to protect it from glue (this is a strong adhesive, so gloves are a good idea). Take a moment to look at your marble pieces and decide which sides you want facing outward.
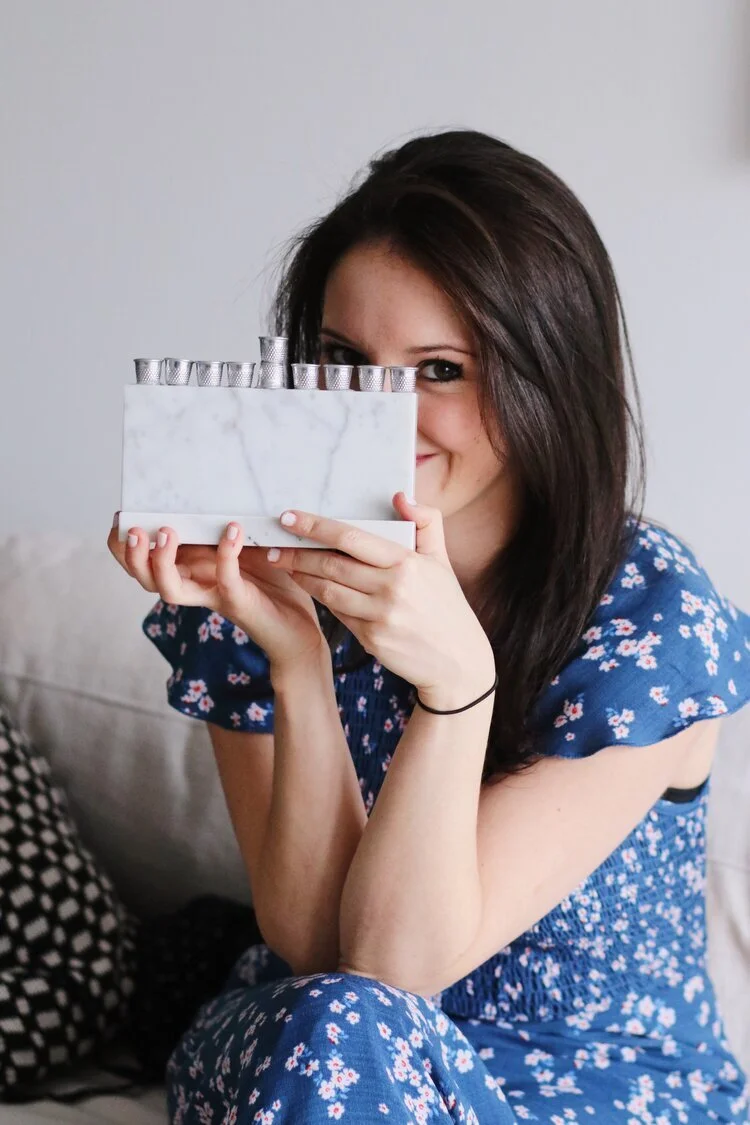
Apply a thin, even line of glue along the bottom edge of one marble piece. Affix it vertically to the center of the second piece to form a T shape, pressing firmly and holding in place for about 45 seconds.
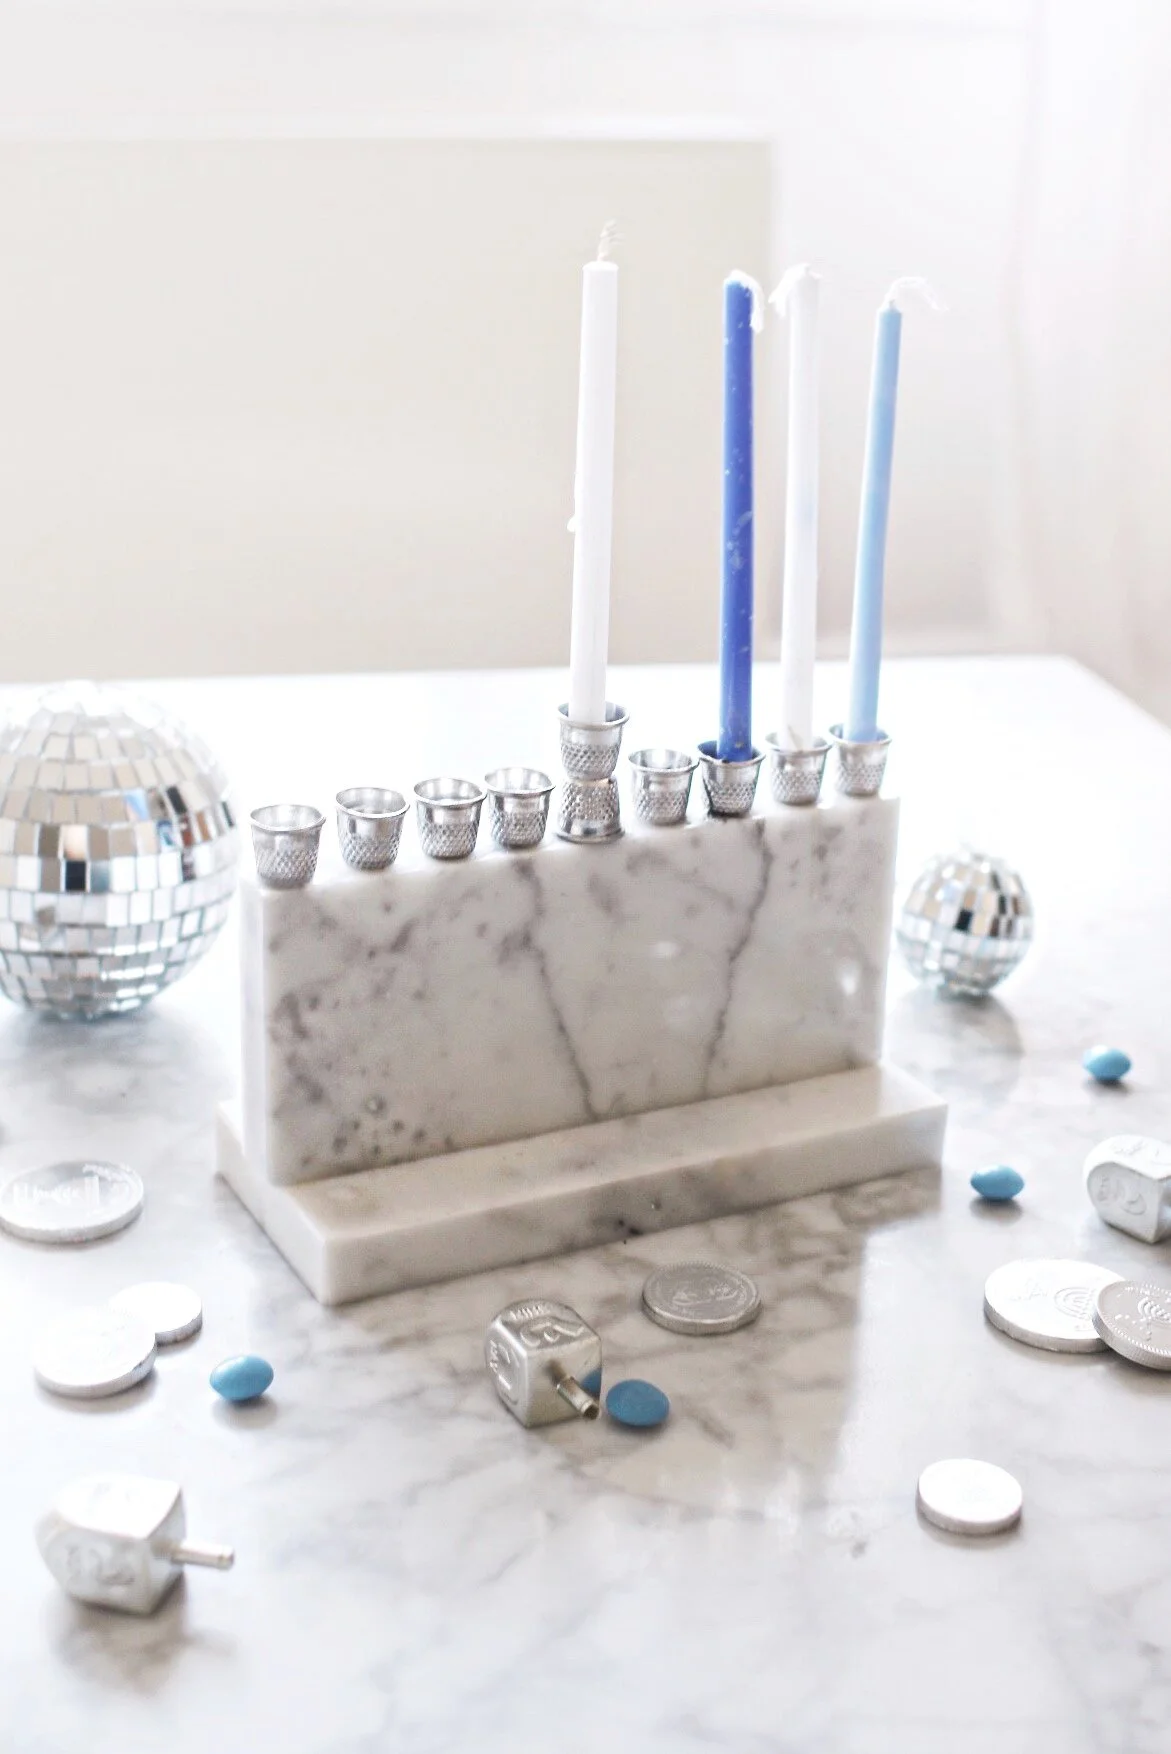
Prep the thimbles: Light a spare candle and drip a thin layer of melted wax into the bottom of each thimble. Once filled, arrange all ten thimbles across the top of the marble base to plan spacing—eight in a row, with two stacked in the center, as shown, for the shamash.
Glue the thimbles: Working one at a time, lift each thimble and apply a generous dot of glue beneath it. Press firmly into place and hold for about 45 seconds without shifting. For the shamash, glue one thimble down as usual, let it set for a few minutes, then glue a second thimble on top of it. Continue until all thimbles are attached.
Allow the menorah to dry for several hours, ideally overnight, before adding candles. If any thimbles feel loose, reapply glue and secure again.
That’s it. Display proudly, photograph enthusiastically, light carefully (beeswax candles work best here to accommodate the larger size of the thimbles).